Assigning Products to Categories
You may be assigning your products to categories during the product import step, but if you have already imported them, you can assign products to categories using the below options:
You must create your categories before you can assign products using a spreadsheet
Option 1: Manual Setup in the Admin
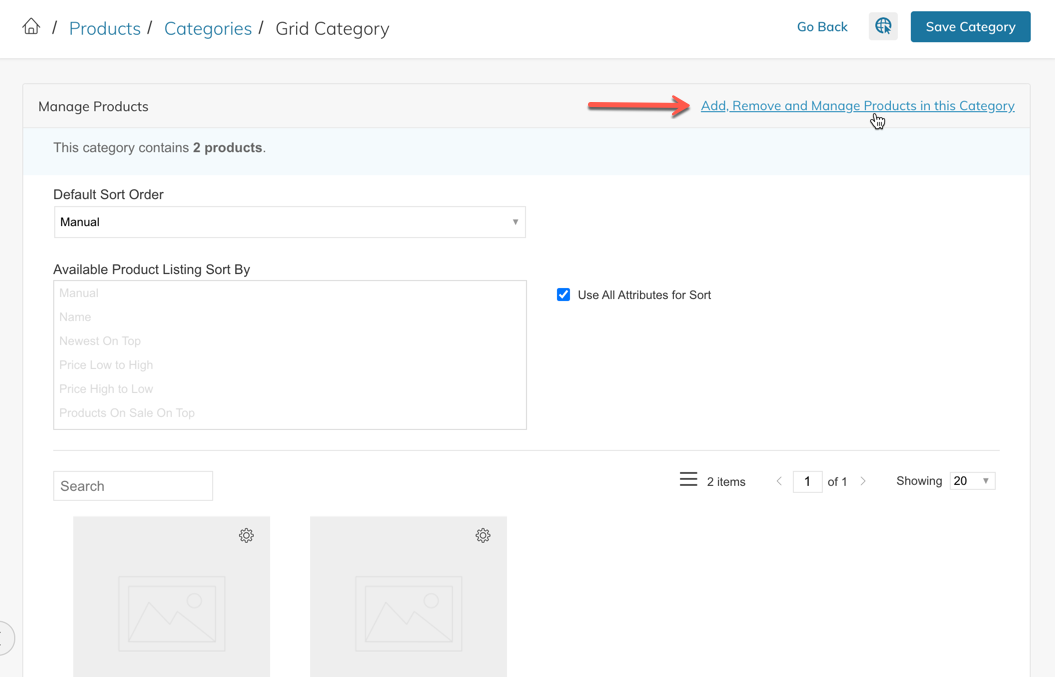
- Products > Categories > Manage Products - Navigate to Products > Categories, select a category and click "Manage Products" then you can use the blue link to Add/Remove/Manage products in that category.
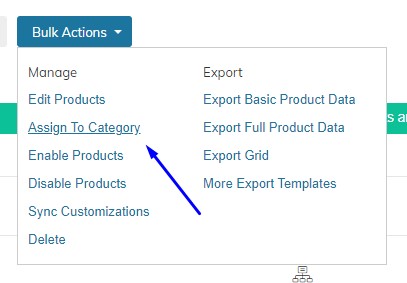
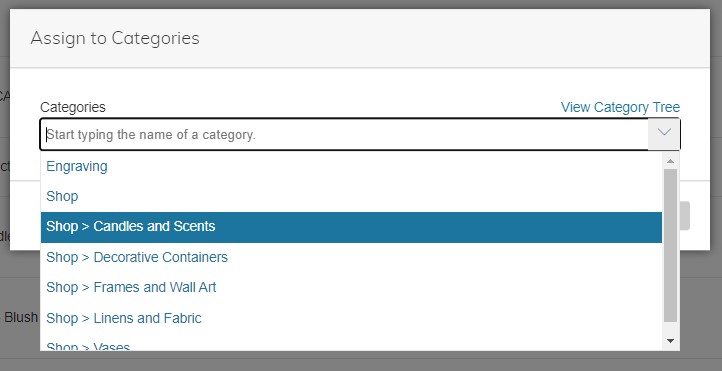
- Products > Products List > Bulk Actions - From your Product List, you can search/filter/multi-select products then use Bulk Actions > Assign to Category
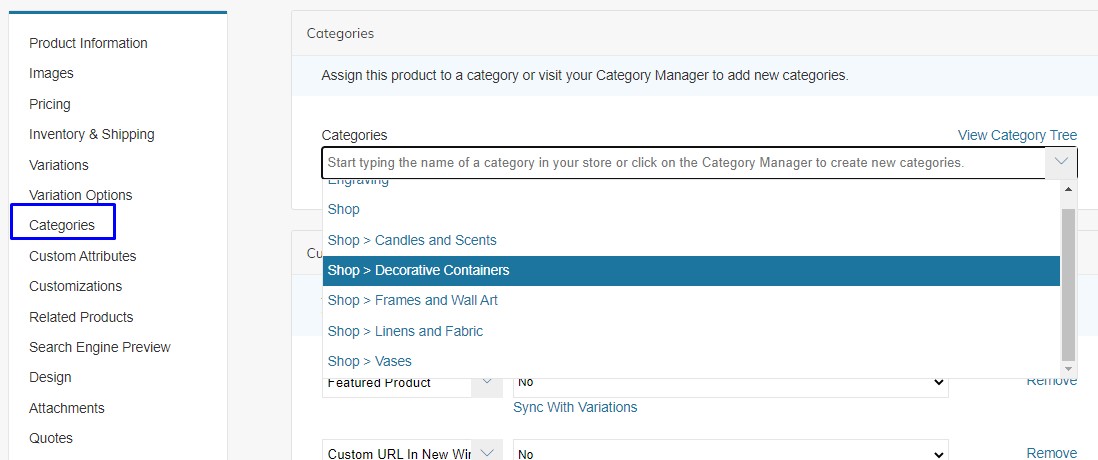
- Products > Products List > View Product > Categories - on the Product Edit screen there is a "Categories" section. You can use this to assign the product to different categories.
Option 2: Via CSV
Creating Your CSV File Using Names/Paths
The import CSV to put products into categories has just two columns: sku and _category.
Create Your CSV File
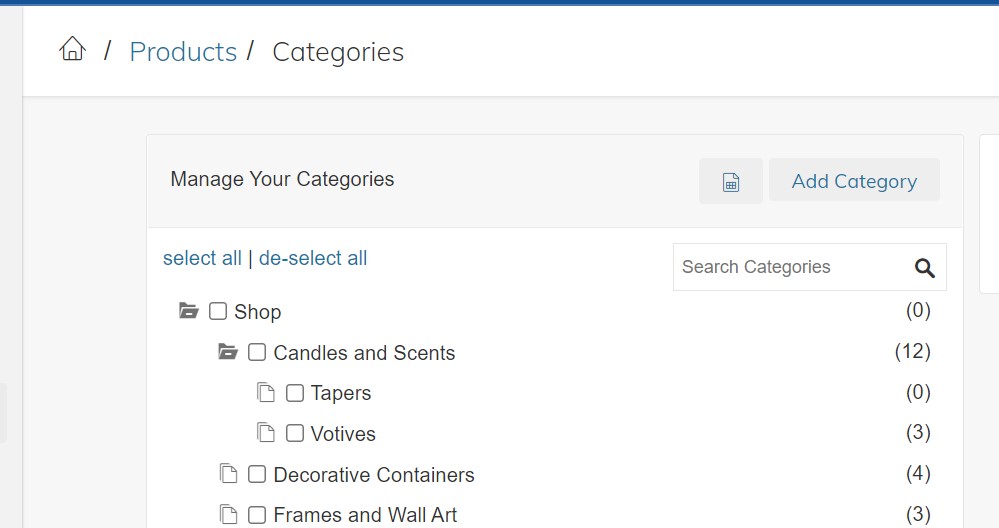
Under the _category header, enter the main category and any sub-categories within, separated by a / slash. See the examples below:
| sku | _category |
|---|---|
| glass-votive | Shop/Candles and Scents/Votives |
| silver-frame | Shop/Frames and Wall Art |
If you want to assign products to more than one category, you must use the Category IDs, not Category Names/Paths.
Creating Your CSV File Using Category IDs
To assign products to a category you need to know your category IDs.
Get Category IDs
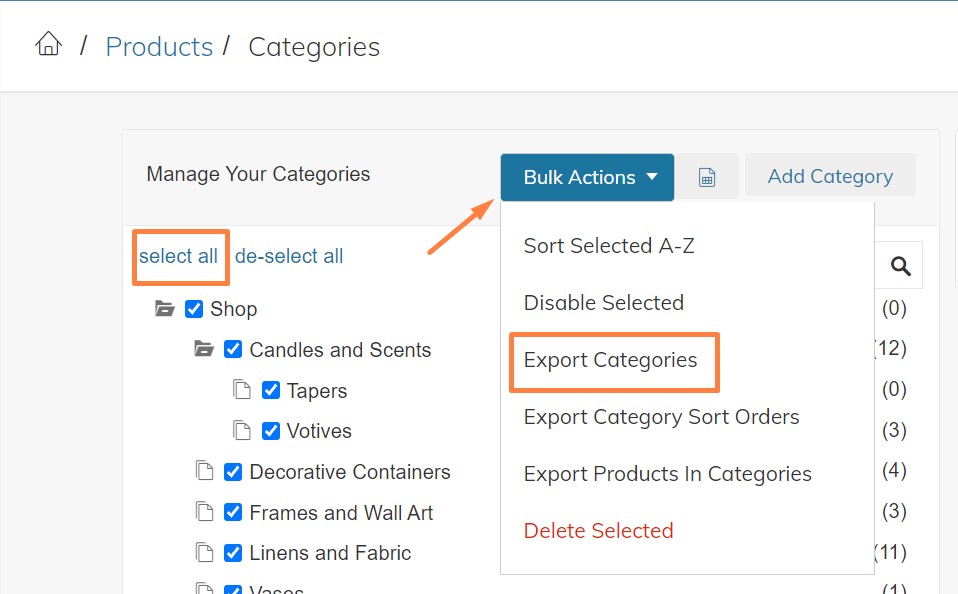
Use our Category Export tool located in Products > Categories> Bulk Actions to export a CSV of all of your categories and their IDs
Create Your CSV File
The import CSV to put products into categories requires just two columns: sku and category_ids. List all category ids to which you want to assign a product (SKU), comma separated without spaces.
| sku | category_ids |
|---|---|
| samplesku1 | 1,21,35,47 |
| samplesku2 | 1,32,46 |
Importing your CSV File
Use Append import behavior to add more categories, use Replace import behavior to replace existing categoriesWhen updating existing products, you can choose to assign products to more categories, using Append, or swap out categories using Replace.
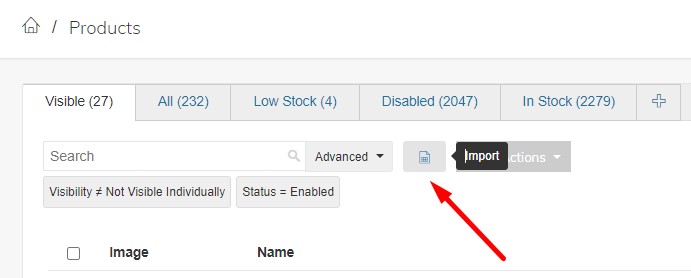
Use the Import tool located in Products > Product List to upload your CSV.
Helpful Tips
- Only assign Visible products to categories.
- Avoid assigning disabled products to categories.
- Only assign products to the "Lowest" level of a category hierarchy. You do not need to assign it to each step. (Example, Mens > Apparel > Shirts > T-Shirts - only assign the product to the "T-Shirts" category as the parent categories will inherit products from the child categories.
Updated about 1 month ago