Customer Attributes
Customer attributes allow you to add custom information to the customer and add fields to the checkout and customer registration forms. Some examples of Customer Attributes are: Department, Website, Customer Notes.
Located in Customers > Attributes you will presented with three tabs: Account, Contact and Address.
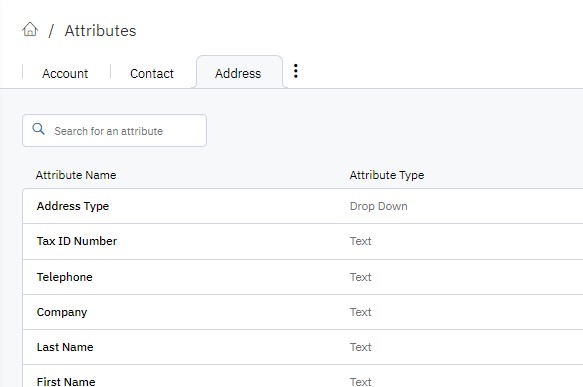
Account Attributes are used in the company create from the admin, the registration form on the customer portal, and can also be on the order creation form, and appear in the Account Overview.
Contact Attributes are used in the contact create from the admin, the registration form on the customer portal, and can also be on the order creation form and customer checkout, and appear in the Contact Information.
Address Attributes are used in the company create from the admin, the registration form on the customer portal, and can also be on the order creation form, and appear in the Ship To fields.
NOTE: Customer Attributes are different from Order AttributesCustomer Attributes are specific to the Account, Contact or Address that may be required or helpful for collecting information at registration or keeping information stored on the Account. Order Attributes are information specific to the order being placed. A customer may enter different information into an Order Attribute for each Order Placed. Customer Attribute information mostly remains constant.
Create New Attribute
Click the Create New Attribute button to add a new attribute.

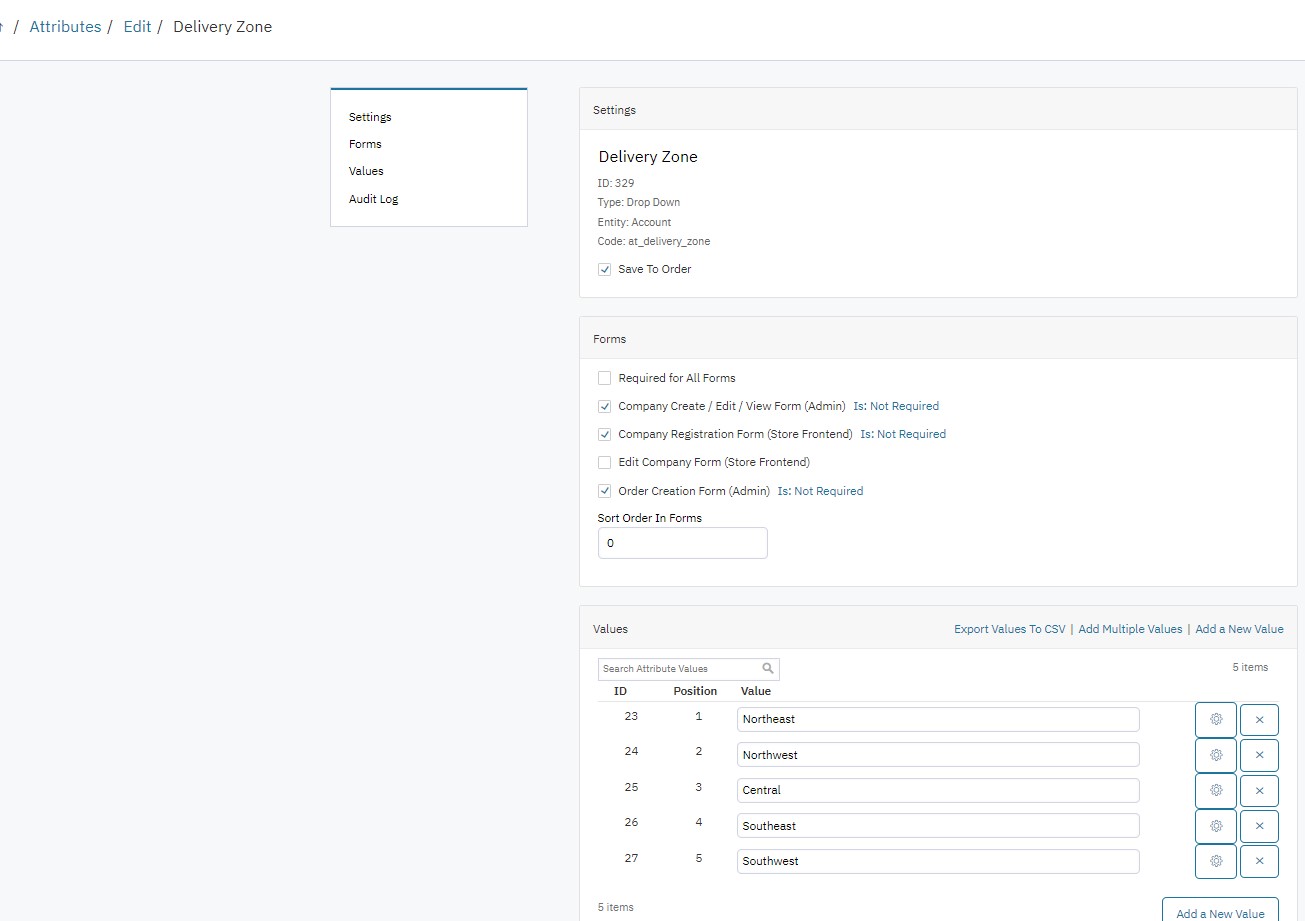
Settings
Attribute Name
Give your attribute a unique name that is easy to understand. i.e. Customer Notes.
Attribute Type
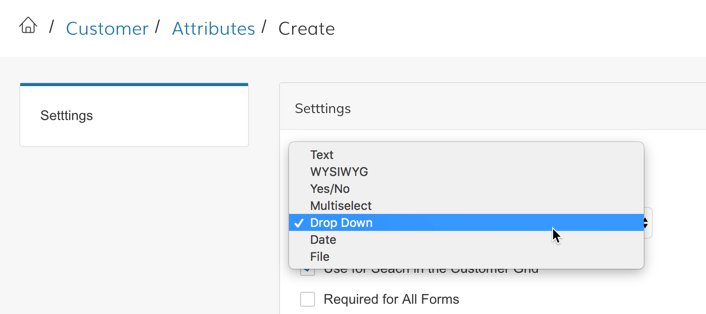
Select from the following options:
- Text (single line field for short text)
- WYSIWYG (multi-line field for longer text)
- Yes/No
- Multiselect (Set options in the "Values" section after saving)
- DropDown (Set options in the "Values" section after saving)
- Date
- File (gives the user the ability to upload a file)
Entity Type
- Customer - This applies the attribute to the "Customer"
- Address - This applies to attribute to each "Address". Since customers can have multiple addresses, each address can have a unique value for the attribute.
Help Text
Use this WYSIWYG box to enter any helpful text or instructions. Links to forms like Credit Applications, W-9s and MAP Agreements, may be linked to the text for customers to download on the Registration Page.
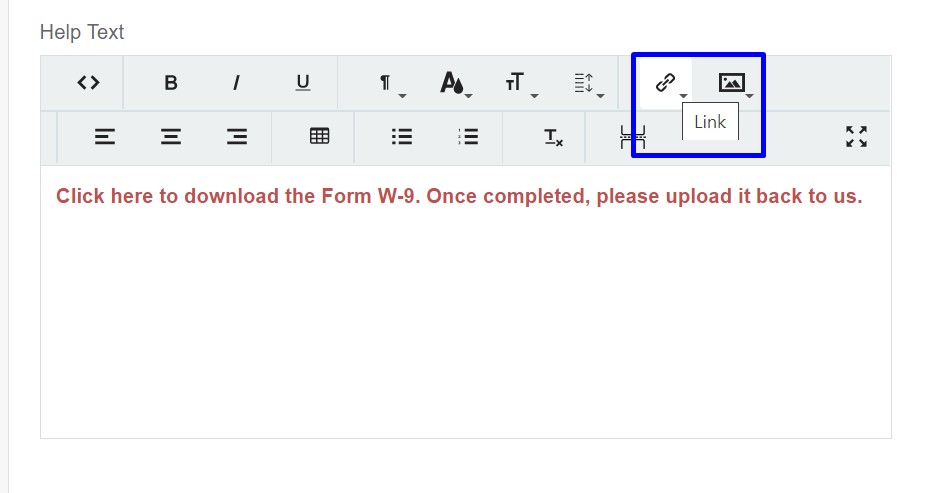
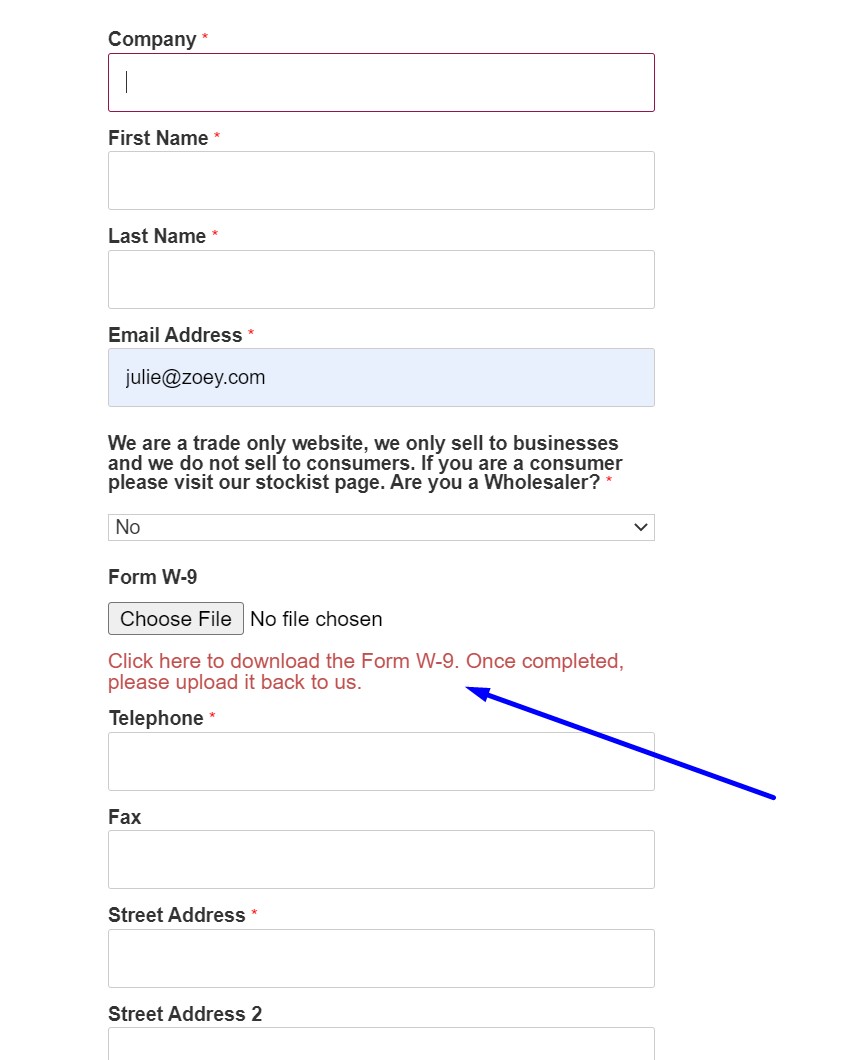
Upload Forms to the File Manager for URL Links.
Visibility
Use for Search in the Customer Grid
Setting to Yes will allow you to search for customers in the Zoey Admin by the values of this attribute.
Available as Column in Order Grid
Setting to Yes will allow you to add this attribute as a column in Customers > Customers List in the Zoey admin.
Show on PDFs
Setting to Yes will show the value of this attribute on Order, Invoice, Shipment etc... PDF Files that can be downloaded in the Admin or Store Frontend by the customer.
This setting will only show after saving a new attribute
Show on Emails
Setting to Yes will show the value of this attribute on Order, Invoice, Shipment etc... Emails that are sent to the customer.
This setting will only show after saving a new attribute
Show on Customer My Account: View Order/Quote
This setting allows you to configure to show on the Order/Quote in the:
- Admin Only
- Storefront (Customer) Only
- Both Admin and Store
Forms
Required for All Forms
This will set all below forms to Is Required = YES
Customer Create / Edit / View Form (Admin)
This will add the attribute form to the Customer Edit screen in the admin
Customer Registration Form (Store Frontend)
This will add the attribute form to the Customer Registration Form for the Customer.
Edit Customer Form (Store Frontend)
This will add the attribute form to the Edit Account Information screen in the Customer's My Account dashboard.
Checkout Registration Form
This will add the attribute form to the Registration Form during checkout.
Order Creation Form (Admin)
This will add the attribute form to the Create Customer screen when placing an order in the Admin.
Restricted Customer Group Form
This will add the attribute form to the Custom Registration URL page enabled in Customers > Settings > Require Approval
Show on Export Full Customer Data CSV
This will show the attribute value on the Customer Data CSV Export.
Sort Order In Forms
Set a value to sort this attribute if multiple attribute forms are enabled.
Add Drop Down / Multiselect Values
After saving a new Drop-Down or Multiselect Attribtue you will be able to add "Values" or options available for selection where the form is presented to the user.
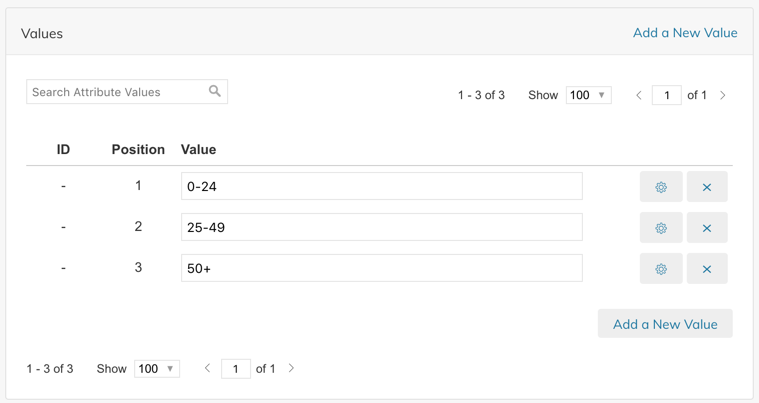
Add Contact Attributes To Your Email Templates
To add customer attributes to your email templates you need to follow this variable format:
{{htmlescape var=$customer.attribute_code}}For example if your customer attribute is "company_name" the variable is:
{{htmlescape var=$customer.company_name}}Add Customer Attributes to Customer Registration Forms
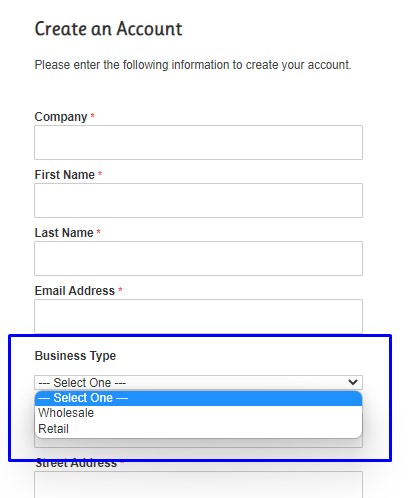
Customer Registration Forms are where New Customer data is entered either in the Customer Create in the Admin or the Customer Registration on the Store Frontend.
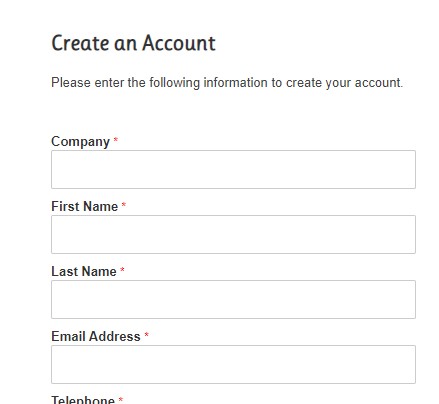
Customer Attributes allow you to add custom fields to Customer Registration Forms.
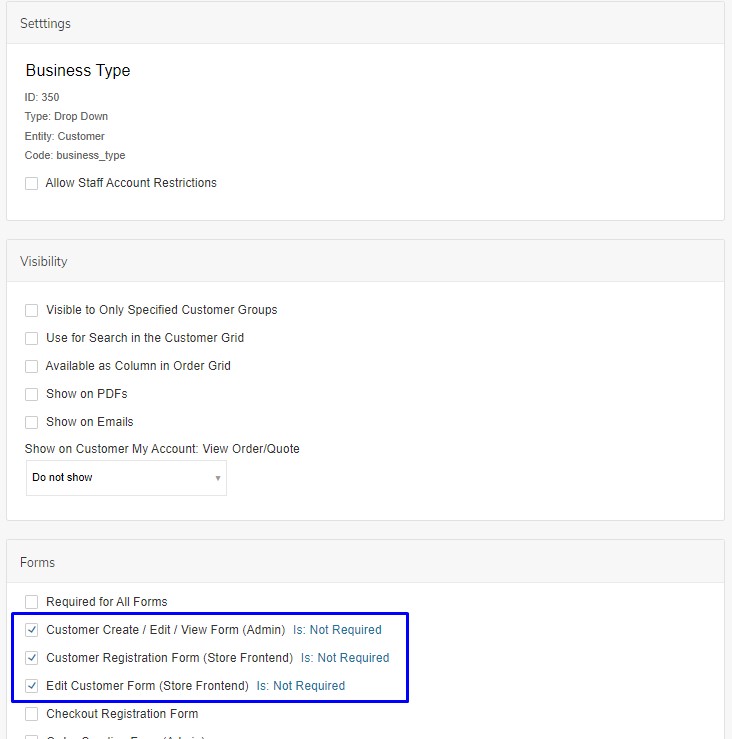
Go to Forms, check the box on the Forms to which you want to apply the New Attribute.
You may also uncheck these boxes on attributes you wish to remove from the Forms.
Importing Customer Attributes
Import Customer Attributes by adding them to an Account import CSV.
To add attributes to an Account Import CSV, use the attribute code as the column header, with Entity account, contact, or account address, as a prefix to the Code.
The code you use will depend on the object the attribute is for and how it is being imported.
For example, a Tax ID attribute on an Account would be account_tax_id in your sheet. But if the Tax ID is on the Contact, it would be contact_taxvat.
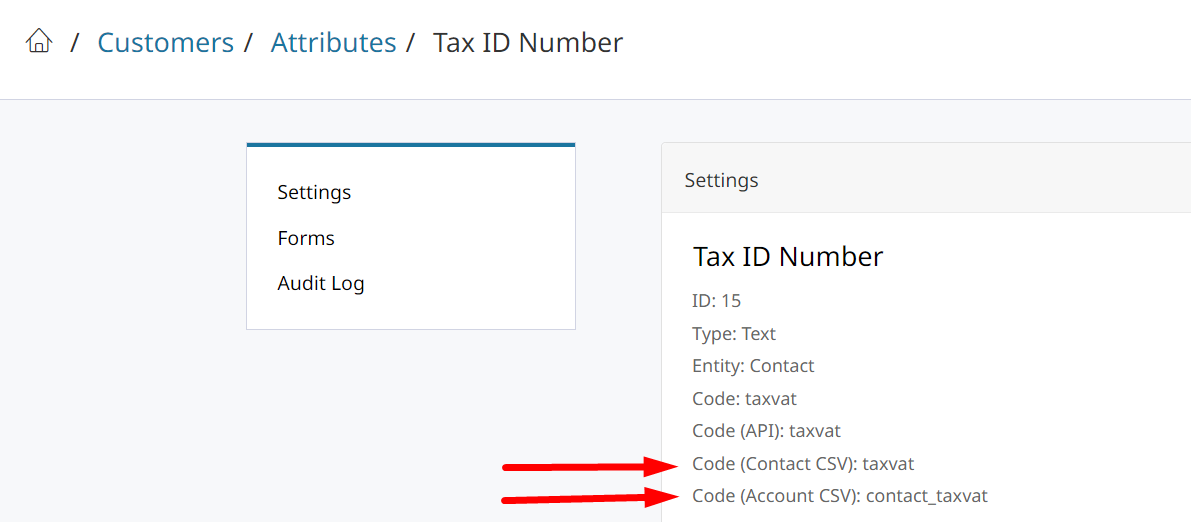
The code you use will also depend on how you are importing the file.If importing Contact Attributes directly through the Contacts Importer, you do not need the prefix.
Updated 9 months ago